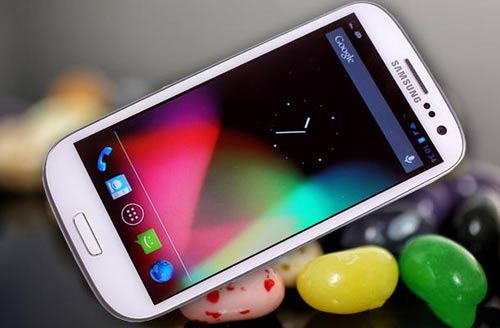
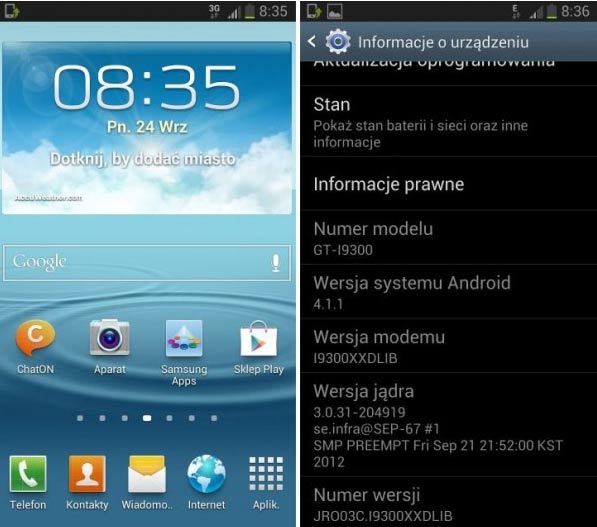
Android 4.1.1 aka Jelly Bean update is finally available for Galaxy SIII devices via OTA. The first country to receive the update is Poland and this would soon spread out to the world.
However, if you can’t wait, here is an Easy guide to Install Official Android JellyBean on your Galaxy S3.
What’s New in Jelly Bean for Galaxy S3
Jelly Bean brings in Project Butter: a 60fps smooth UI experience throughout the OS. This ensures that your animations, application interface is always fast and fluid.
Although Jelly Bean has redefined Android, let’s look at features that you would see in Galaxy S3:
- Project butter: Super smooth and fluid interface.
- Google Now: Samsung isn’t removing S-Voice but is bundling it along with Google Now: The fastest and most intelligent search assistant.
- Battery improvements: Better battery management and 20% battery life improvement
- Tweaked Settings app
- New JellyBean Notifications: Interactive, expand or collapse a notification.
- More… checkout official Android documentation.
How To Install Official Android JellyBean OTA on Galaxy S3
Note:
- You will lose all your data when you do a wipe, which is required for this manual update.
- This guide is essentially for International version of Galaxy SIII codenamed i9300. You can check that in settings > general > about. If you’re using a US variant of the phone, you need a different ROM (Step 2) but rest of the steps are exactly the same. T-Mobile and Sprint version ROMs are mentioned in Step 2. For others, you will have to google for ROM yourself.
- All Samsung guides are exclusively for Windows. No Linux or OS X.
- This is Official OTA XXDLIB pushed to Poland users. Works on all international SIII phones.
In case you’re rooted on Galaxy SIII, here’s a video for you to on how to return to Stock
Guide:
Step 1. Download Kies and install it, if you don’t have it already. This will install necessary drivers. Alternatively, you can also download the drivers directly — download from here: 32 bit (x86) Windows | 64-bit (x64) Windows. Sorry no OSX support for Samsung drivers.
Step 2. Download the firmware: Download XXDLIB | Mirror | Filename: GT-I9300_XEO_1_20120922093900_w8pdod73hi.zip [Intenational i9300]. If you’re on T-Mobile download this ROM [SGH-T999], Sprint ROM [SPH-L710]. i9300T model is tuned to favour the 850mhz band. There is a difference in hardware but very minor. Other than that they are the same.
Step 3. Extract the GT-I9300_XEO_1_20120922093900_w8pdod73hi.zip file on the computer to obtain a file named I9300XXDLIB_I9300OXFDLI1_I9300XXDLIB_HOME.tar.md5
Step 4. Download Odin3 v3.04. Odin is required to Flash firmwares, kernels to samsung phones. Extract and Run Odin executable
Step 5. Switch off your S3, then, put the phone into download mode. You can put S3 in Download mode by pressing these keys together: Volume Down + Home + Power till the screen turns on. Then press Volume Up to enter download mode.
Step 6. Open Odin by double-clicking on the Odin3 v3.04.exe file obtained in step 6 after extractingOdin3_v3.04.zip.
Step 7. Now is the time to attach your phone via USB cable.
Step 8. Click on the PDA button in Odin, then browse to and select the I9300XXDLIB_I9300OXFDLI1_I9300XXDLIB_HOME.tar.md5 file. Leave other options intact. Do not modify other options.
Step 9. Click Start button and flashing would being. You will soon see a PASS message in green. Your device will reboot, and when you see the Samsung logo, you can safely unplug the cable.
Step 10. Now the Phone should boot normally. If it gets stuck for more tha 10minutes at boot log, do the following, else skip:
- Boot to recovery mode — for which, first power off phone (by removing battery and reinserting it), wait for 5-6 seconds, and then press and hold Home + Volume Up + Power keys together till the screen turns on, then let them go to boot into recovery. Once you are in recovery mode, use volume keys to move the selection up and down and home/power key to select the option.
- Go to Wipe data/Factory Reset and select it. Select Yes on next screen.
- Then, select reboot system now to reboot the phone, which will now boot properly.
Voila! You’re now Running Official Android 4.1.1 on Galaxy S3. Enjoy the butter smooth experience.
If you have any questions, queries, trouble, leave us comments below.
Of course this is Samsung’s Touchwiz themed Jellybean. If you want Stock Pure Google Experience, checkout: Get Stock ICS, JellyBean AOSP Apps, Holo UI on Any Android
We write latest and greatest in Tech Guides, Apple, iPhone, Tablets, Android, Open Source, Latest in Tech, subscribe to us@geeknizer OR on Facebook Fanpage, Google+:
loading...
loading...


does this work on GT-9300T ?
loading...
loading...
i9300T model is tuned to favour the 850mhz band. There is a difference in hardware but very minor. Other than that they are the same. Same ROM would work.
loading...
loading...
Can you have english?
loading...
loading...
It has the English Language Option?
loading...
loading...
yes it has.
loading...
loading...
it has the Arabic Lsnguage Option?
loading...
loading...
it has the Arabic Language Option?
loading...
loading...
If i chose the tmobile option will it be stock android or touchwiz? Thank you.
loading...
loading...