Airdrop is a peer-to-peer function specific to iOS devices. The Airdrop works with any device that is designed by Apple which includes the iPhone, iPad and laptops/devices running Mac OS. It cannot function on Android devices because it is only specific to Apple iOS environment and facilitates to increase the speed of transferring files instead of sending them through email and other third party Apps. Airdrop makes it really easy for two iOS devices to communicate and share contacts, pictures, videos and files.
How To use the Airdrop to transfer files from one iPhone to another or from an iPhone to an iPad
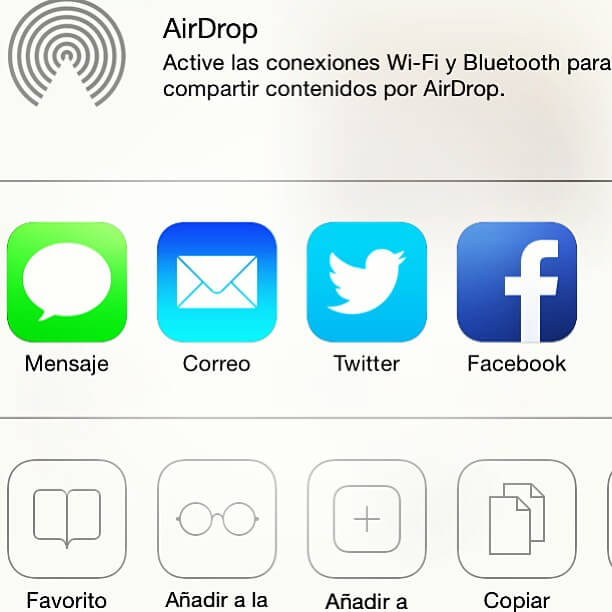
First you need to Turn-On Airdrop feature on either of the devices (for this to work the Bluetooth and the Wi-Fi needs to be switched on) and you can do this by going into the menu or Control Centre on your iPhone or iPad (the control centre is where the brightness and volume is controlled). You may 3D touch the Wi-Fi icon, it brings out more options and then you select the Airdrop icon and it brings out various options. The two basic options there are; Contacts Only (you can only use this setting if you wish to share files with contacts) and the second option is receiving from everyone which is preferable to use when connecting with a new device.
Once you’ve selected one of the options, Airdrop is switched on and then you do the same thing for the other device as well.
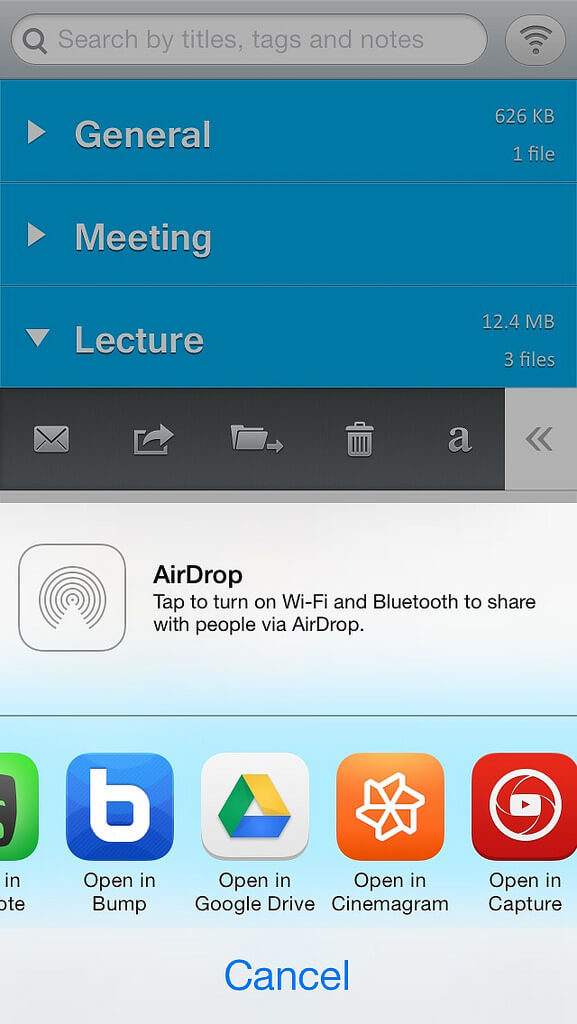
Now to share a video or picture in the gallery from one iOS device to the other, you select the Photos App icon and locate the video or picture you desire to send. Tap on the share button and once the screen re-adjusts, you automatically see the other device in the space created by the Airdrop. Once you select the target device, files are transferred immediately and a ‘Sent’ confirmation appears on the screen.
The same procedure may be followed to transfer Documents as well. Go to pages and locate the document. Click the share botton to send desired documents to other recipients.
How To Airdrop between MAC and iPhone
You’ll need to enable Airdrop on your Mac. And to do this, Open a new finder window, Click on file and then new finder window. You’ll see the Airdrop icon down on the left side. Once you click on it, by default your MAC allows you to be seen only by contacts so you need to change this in case you want to send files to a new device whch is not part of your contacts. And to do that you need to click on the drop down arrow beside contacts only and change it to everyone.
You need to switch on Airdrop on your iPhone or iPad as well so, you need to go to the control centre and turn it on (make sure both the Bluetooth and Wi-Fi is turned on). Locate the picture or video and click the share icon on the bottom left corner (you can do this with pretty much any file you want to send). You’ll see the first option that pops up is the Airdrop and sometimes, it might take a few minutes for the other device to show. Once you see the pop-up notification on your Mac, select it and click the Accept button on your Mac and the file will be delivered to your Mac.
Anytime you send a file through airdrop from iPhone to Mac, the default location it saves is the ‘Downloads’ folder, hence you may have to navigate their and move it to your desired location.
loading...
loading...